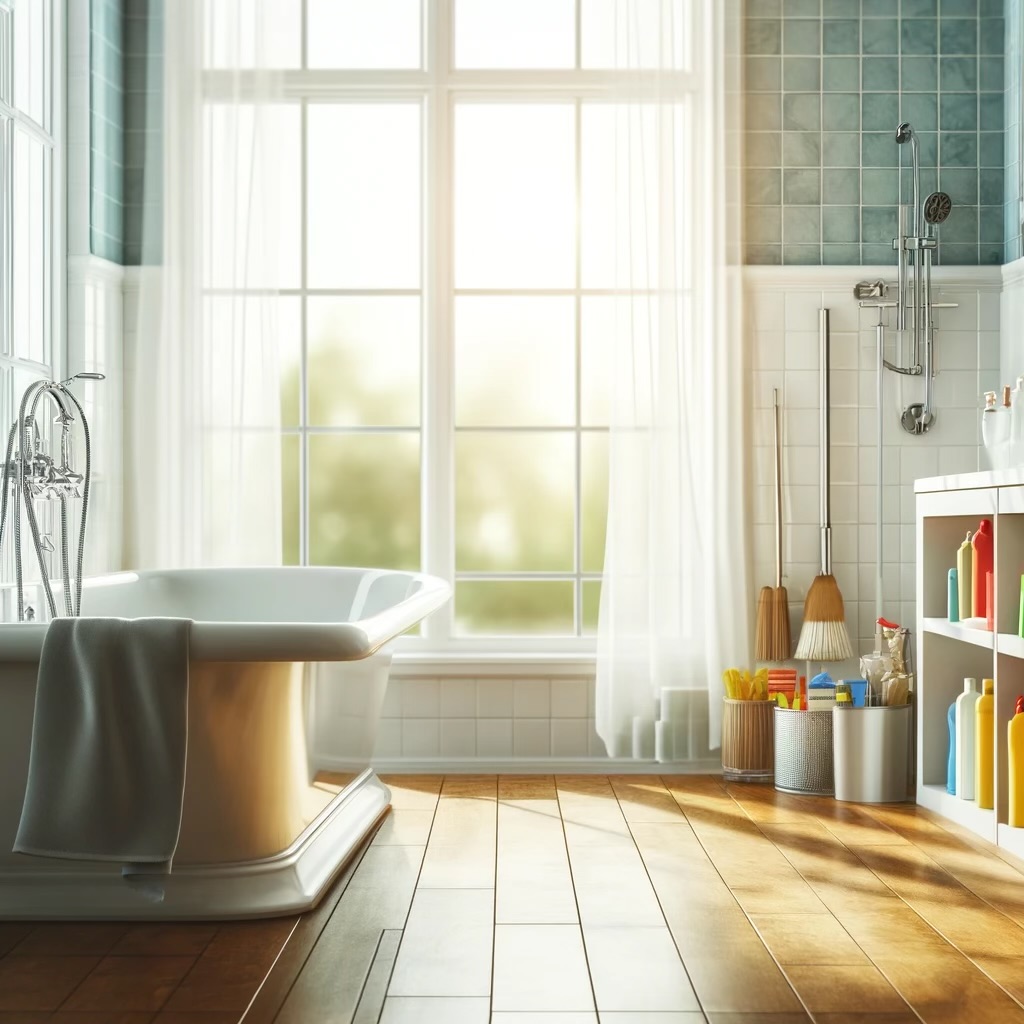
As the owner of a tub and tile reglazing company, I’ve seen firsthand how a little maintenance and minor repairs can significantly prolong the life of your bathroom fixtures. Whether you’re preparing for a professional reglazing service or looking to maintain your newly reglazed surfaces, here are some practical DIY tips to keep your tubs and tiles in top condition. Plus, check out some affiliate marketing opportunities to get the best products for your DIY projects!
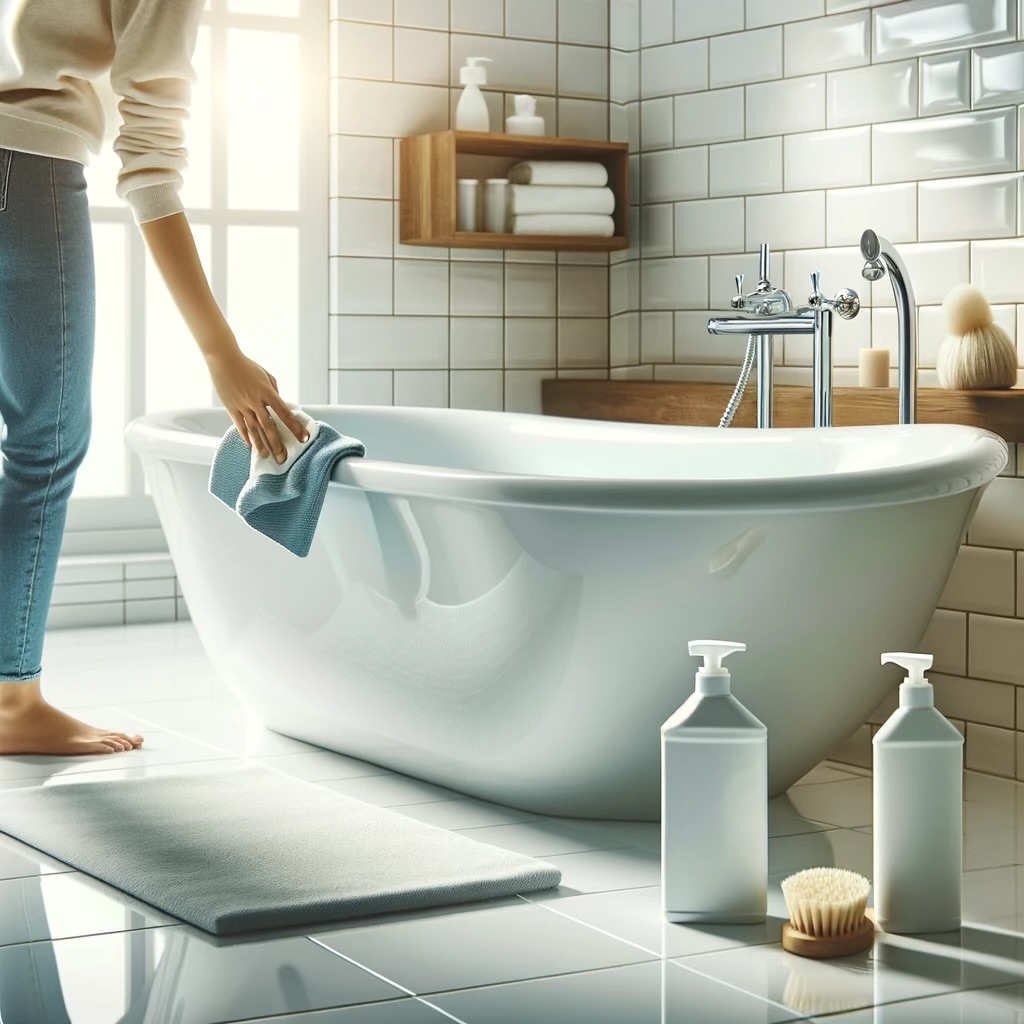
1. Regular Cleaning
Before Reglazing:
• Mild Cleaners: Use non-abrasive, mild cleaners to avoid damaging the surface. A mixture of baking soda and water or a gentle dish soap can effectively remove soap scum and grime.
• Soft Brushes: Avoid harsh scrubbers or steel wool. Instead, use soft-bristled brushes or sponges to clean the surfaces.
Try using Lysol Power Foaming Cleaning Spray for a safe and effective clean that won’t damage your surfaces.
After Reglazing:
• Non-Abrasive Cleaners: Continue using non-abrasive cleaners to preserve the reglazed finish. Avoid bleach and harsh chemicals that can erode the surface.
• Regular Wiping: Wipe down the tub and tiles with a soft cloth after each use to prevent water spots and soap scum buildup.
Keep your reglazed surfaces spotless with Non-Scratch, Super Long-Lasting Scrubbing Pad.
2. Grout Maintenance
Before Reglazing:
• Inspect and Clean: Check the grout lines regularly for mold or mildew. Clean with a mixture of vinegar and water or a commercial grout cleaner.
• Reapply Grout: If you notice any cracks or missing grout, reapply grout to prevent water from seeping behind tiles, which can cause damage.
Use Clean-eez – Grout-eez Super Heavy-Duty Grout Cleaner and PentaUSA Tile Grout Repair Kit for easy and effective grout maintenance.
After Reglazing:
• Sealing Grout: After professional reglazing, consider sealing the grout lines to protect them from moisture and stains.
• Regular Checks: Periodically inspect the grout and reseal as necessary to maintain a watertight seal.
Seal your grout with Clean-EEZ Grout Sealer to keep it protected and looking fresh.
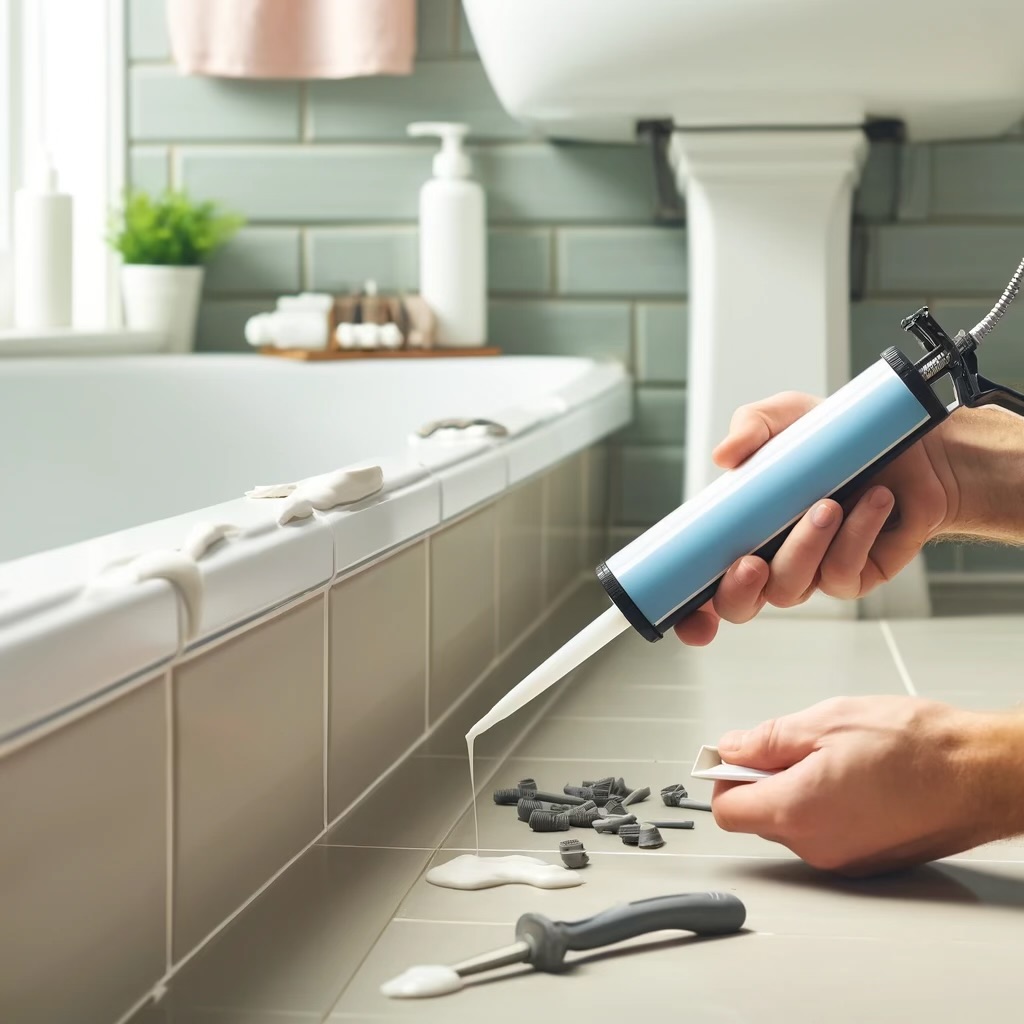
3. Caulking
Before Reglazing:
• Remove Old Caulk: Use a caulk remover tool to take off old, cracked caulk around the edges of your tub and tiles.
• Apply New Caulk: Apply a fresh bead of silicone caulk to seal the joints. Smooth it with a caulking tool or your finger for a clean finish.
Try the ALLWAY CT31 3-in-1 Caulk Tool and Gorilla Waterproof Caulk & Seal for perfect caulking.
After Reglazing:
• Inspect Regularly: Check the caulk lines every few months for signs of wear and replace them as needed.
• Moisture Control: Ensure proper ventilation in the bathroom to prevent mold and mildew growth around caulked areas.
Keep your bathroom well-ventilated with Broan-NuTone 688 Ceiling and Wall Ventilation.
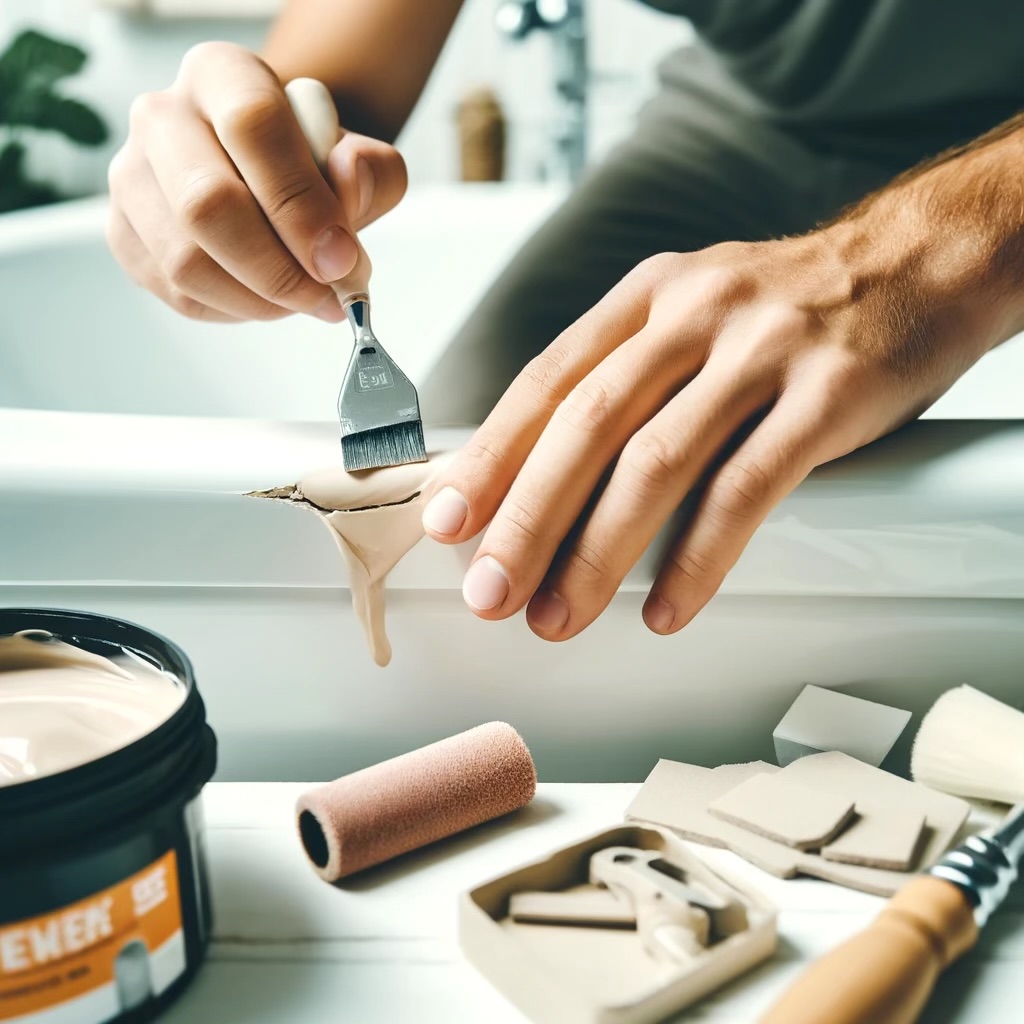
4. Fixing Minor Chips and Cracks
Before Reglazing:
• Epoxy Repair Kits: For small chips and cracks in your tub or tiles, use an epoxy repair kit. Follow the instructions carefully to fill and smooth the damaged area.
• Preventive Measures: Place rubber mats or soft pads in the tub to prevent heavy objects from causing damage.
Fix minor chips with Gorilla 2 Part Epoxy and use Gorilla Grip Patented Bath Tub Shower Mat to protect your surfaces.
After Reglazing:
• Prompt Repairs: If you notice any minor chips or cracks on the reglazed surface, address them immediately with a touch-up kit to prevent further damage.
• Protective Mats: Continue using protective mats to avoid accidental chips from dropped items.
Maintain your reglazed surfaces with White Porcelain Repair Kit.
5. Preventing Stains
Before Reglazing:
• Hard Water Solutions: If you have hard water, use a water softener or install a filter to reduce mineral deposits that can stain your tub and tiles.
• Regular Cleaning: Clean stains promptly with a gentle cleaner to prevent them from setting in.
Combat hard water stains with APEC SOFTENER-HE-30-FG Water Softener.
After Reglazing:
• Immediate Cleaning: Address any spills or stains immediately to keep the reglazed surface pristine.
• Use Gentle Products: Stick to mild cleaning products to avoid discoloration or damage to the reglazed finish.
Use Stardrops – The Pink Stuff for a quick and safe cleanup.
Conclusion
Maintaining and performing minor repairs on your tubs and tiles can significantly extend their lifespan and keep them looking their best. These DIY tips are straightforward and effective, ensuring your bathroom remains a clean and pleasant space. However, when your tubs and tiles need a more extensive makeover, professional reglazing is the way to go. Our expert team is here to provide a flawless finish that revitalizes your bathroom, making it look brand new again.
For more information on our reglazing services or to schedule a consultation, feel free to contact us. Happy DIY-ing! And don’t forget to check out our recommended products to make your DIY projects easier and more effective.